
Welcome to June's edition of Blog With Friends!!! This month's theme is "Travel". I have chosen to take the zipper packaging from a set of sheets and use it to make a toiletry bag. At the end of this post you'll see the links to the other great projects and posts for this month. Be sure to check them out, there's some really cool stuff!!

Materials needed:
Zipper bag (mine came from a set of sheets, but there's all kinds of bedding and such that come with one.)
Material (maybe half a yard, if that. You could probably use a fat quarter and still have some left over)
Plastic canvas (depending on the size of your bag, you might need two sheets)
Paracord (I got mine at Walmart for less than $2)
Lighter (to burn the ends of the paracord)
Sewing machine, thread, scissors.
Printer
Directions:
You could skip making the insert since it's only for decorative purposes and to give the bag a little bit of support. So, if you don't want to make the insert, just skip to the directions on adding the paracord.
To start, cut your plastic canvas. You'll need three pieces. One for the front, one for the back, and one for the bottom. I was going to make mine with sides as well, but stuff wasn't cooperating with me, so I skipped the sides. This is really only for decoration anyway.
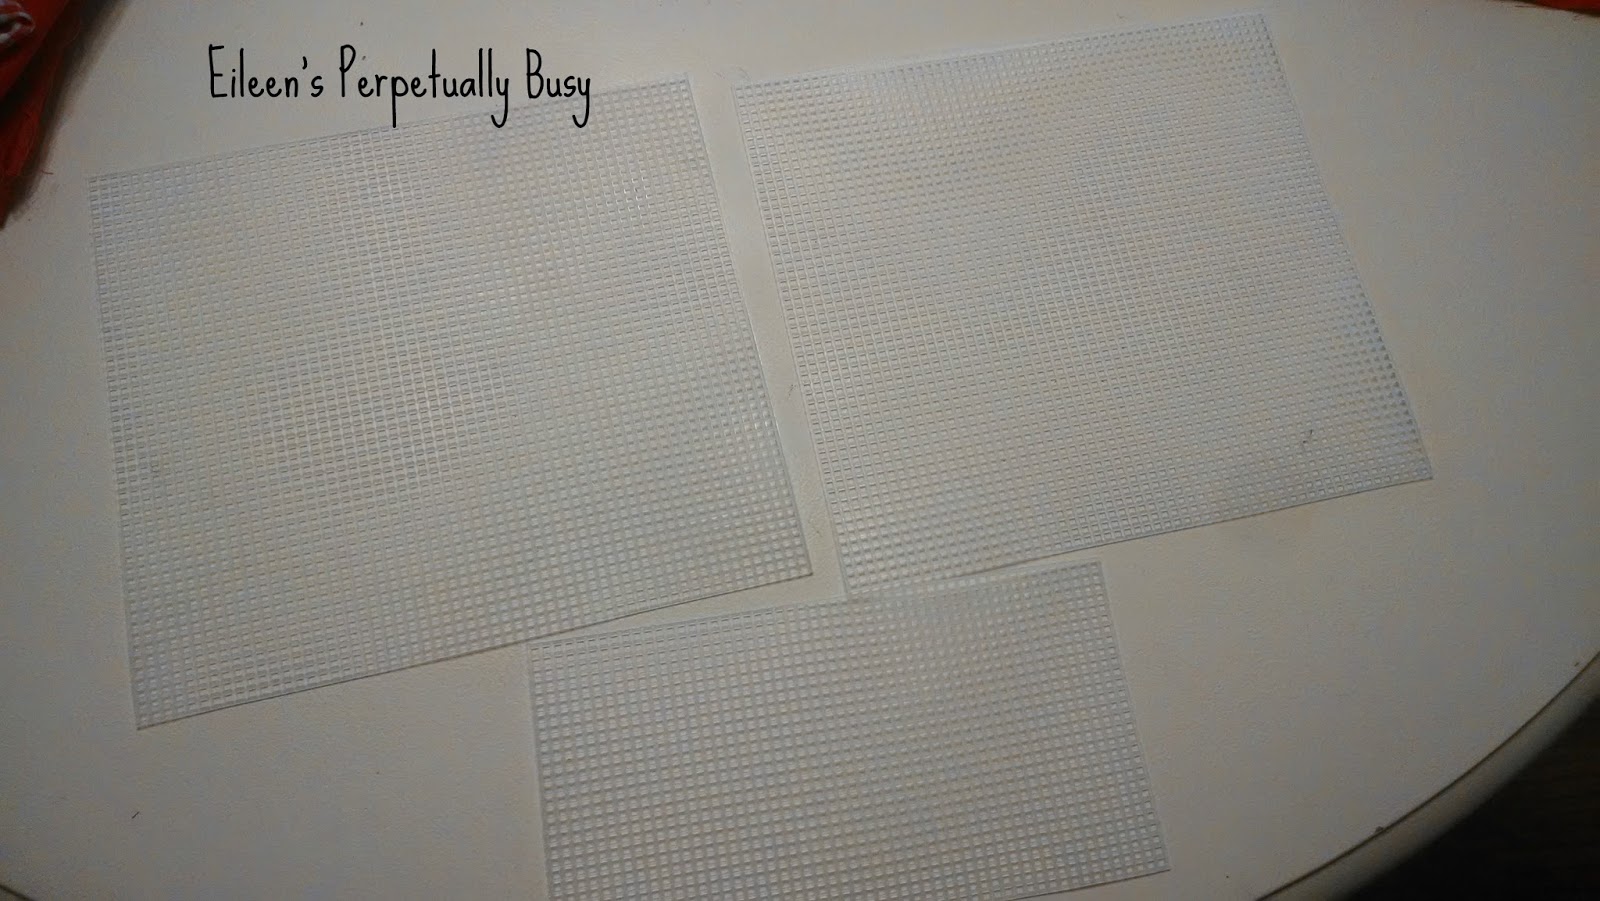
Not sure if you can tell from the pic, but those are the three pieces of plastic canvas.
Next you'll need to cut the fabric. I used a double layer on the side pieces because the red gingham fabric was very thin. I cut the fabric on a fold with space around the plastic canvas for seam allowance.

For the bottom piece, I cut two pieces of fabric (one for the top and one for the bottom), with enough fabric around for a seam allowance.

Then for each side piece, I put them inside out and sewed up the sides only.

Then I turned it right side out and inserted the plastic canvas into the pocket.

For the bottom piece, I only sewed the sides (with right sides facing each other). Then I turned it right side out and inserted the plastic canvas.

The last thing I did on this part of the toiletry bag was sew all three pieces together with the plastic canvas inserted into each piece.

I used three strands of paracord, cut a little longer than I wanted the handle to be. I tied the three strands together at one end, and burned the ends to prevent fraying.

On the bag itself, I put some clear Gorilla Tape (not the packaging one, you want the repair tape) on the inside of the bag near the top to add a little reinforcement to the plastic. Then I put a small hole into it and fed the paracord through from the inside out (so that the knot ends up on the inside).
Insert shame face here since I forgot to take a picture of this part....
Then I braided the three strands of paracord until I got near the other end. I put tape and a hole on the other side and fed the cord through the hole from the outside so that when I made my knot and burned the ends the knot would be on the inside of the bag again.


I hope this tutorial made sense, or at least it will give you an idea of what you could do with those bags that people just hate to throw away.
And now for the rest of this month's projects and posts!!
Karen at Baking in a Tornado made Fruity Lemonade Snack Mix:

Robin at Someone Else's Genius made Frodo's Journey Bezel Bracelet {tutorial}

Lydia at Cluttered Genius is showing us how to make Traveling Easier with a Baby:

Stacy at Stacy Sews and Schools made special vacation pajamas with her tutorial on how to make Mandarin-Style Pajamas:

Melissa at Home on Deranged shows us how to Use technology to make your travel easier and even more fun!

This is an awesome idea! I love using stuff I already have, and you've broken this down to manageable steps. Thanks!!
ReplyDeleteI love that you upcycled something I end up throwing away to make this great travel toiletry bag. GREAT idea!
ReplyDeleteThis is an absolutely brilliant idea!!! I love it!!! You are so great at repurposing!!!
ReplyDeleteI didn't even know there was such a thing as plastic canvas! This is fantastic, especially for the outdoor trips, when you don't want to drop your regular travel bag in the water or mud. Thanks for the tutorial!
ReplyDeleteThis is a great upcycle idea! So cute.
ReplyDelete