
I couldn't help myself! I have a friend who has an iPad and would appreciate a handmade iPad cover (and the humor behind the one I'm going to make)... here's my creation and a tutorial on how to make it!
Supplies Needed:
For cover only:
- (1) 8 1/2" X 21" piece of fabric for outside (I used white denim)
- (1) 7" X 8 1/2 piece of fabric for flap
- (1) 8 1/2" X 21" piece of fabric for inside (I'd avoid fleece so you don't build up static)
- (2) 8 1/2" X 2o" piece of rubbery shelf liner
- Approx. 2 inches of Velcro
- Sewing machine and thread
- Iron
- Printer
- 4"X6" Printable Iron-on Transfer (actually, it would probably look better at at least 5"X7")
- Iron
Cover Directions
Step 1: Cut your pieces of fabric (sizes listed above)

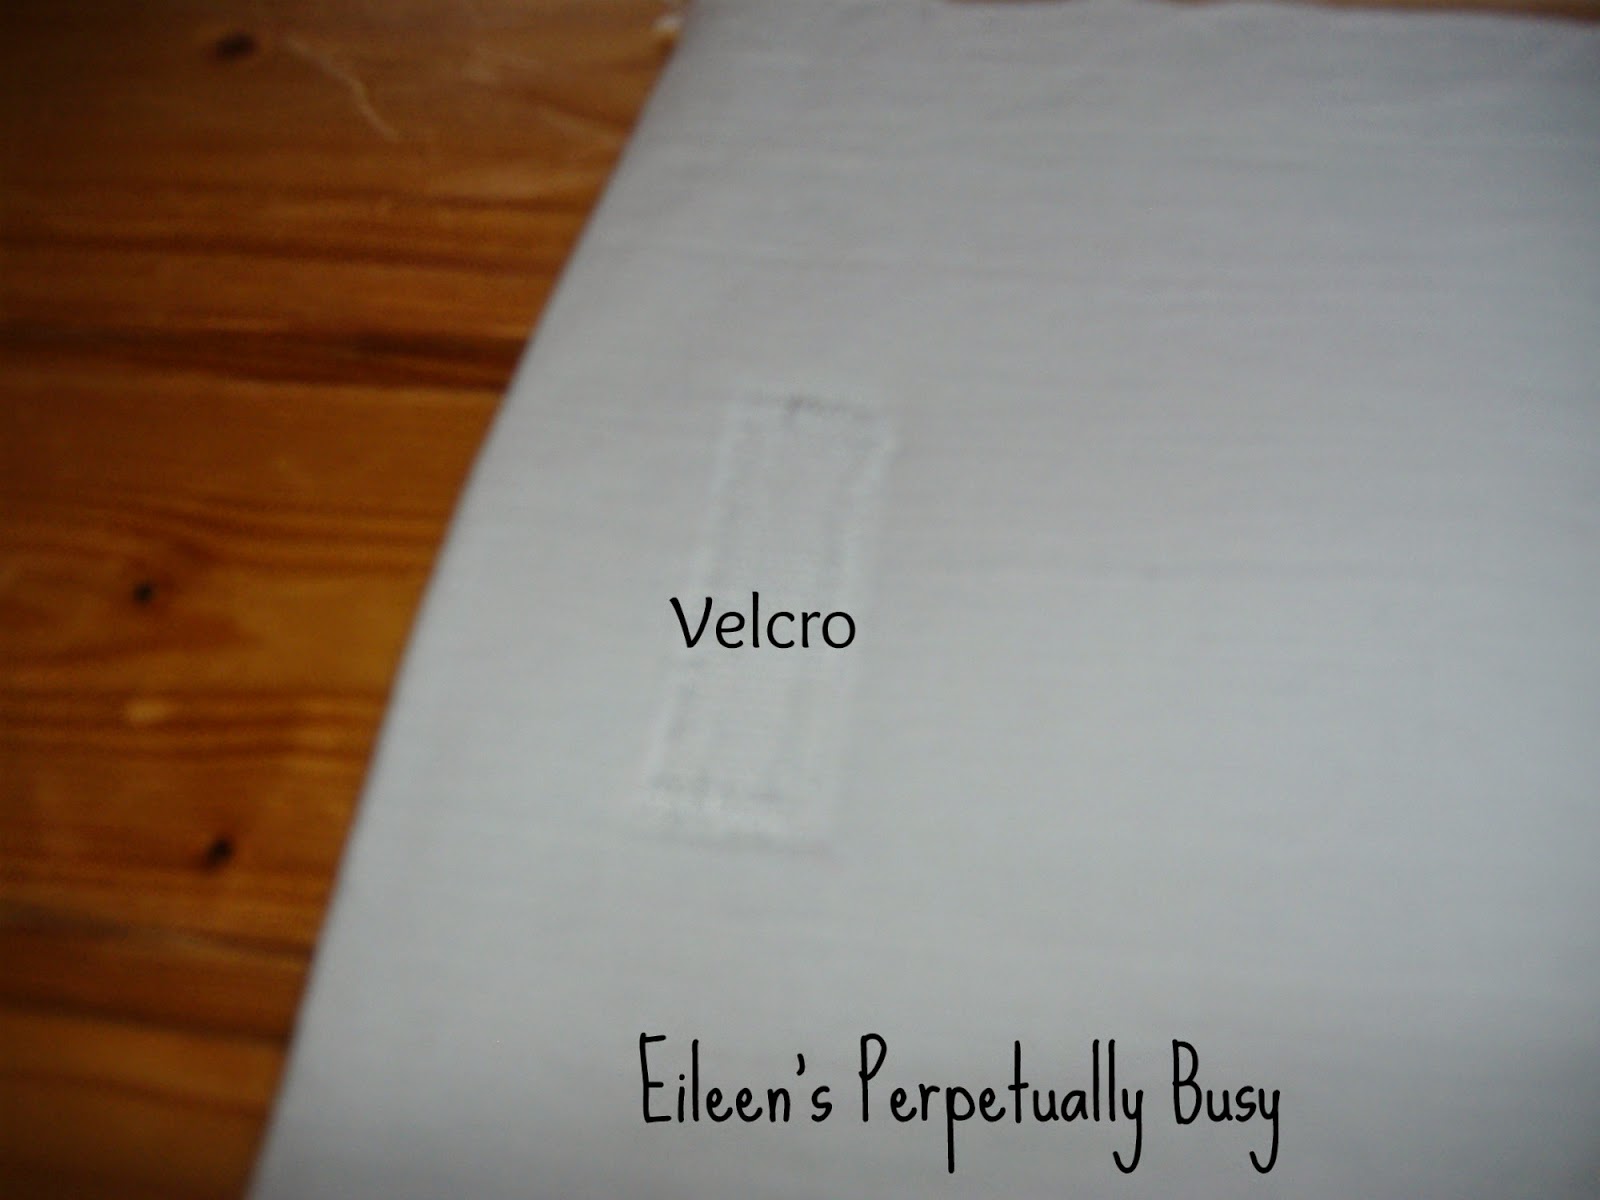
Step 2: Fold your 7" X 8 1/2 piece of fabric for flap in half, wrong sides together for placement of the softer side of the Velcro. I placed mine about 1/2" from the fold, making sure it was centered. Pin then sew into place. I used a zig-zag stitch to make sure that it would stay put.

Step 3: Fold 7" X 8 1/2 piece of fabric for flap in half again, this time right sides together and sew side seams.

Turn right-side out when finished.

Step 4: Layer pieces. (1) 8 1/2" X 21" piece of fabric for outside right side up; (2) Flap piece, Velcro up with un-sewn edge at the edge; (3) 8 1/2" X 21" piece of fabric for inside Right side down.

Step 5: Sew along the two 8 1/2" edges.

Step 6: Turn right-side out and press


Step 7: Sew together two pieces of shelf liner

Step 8: insert into middle

Step 9: Fold in half with right side out to gauge placement of the other half of the Velcro. Pin then sew into place.

Step 10: Fold in half again, this time right side in and sew up sides.

Step 10: turn right side out and you're done with this part!

Embellishment Directions
Step 1: Locate a picture of an Eye pad online. I'd post the one I used, but don't remember what site I got it from.
Step 2: Print your pic on Iron-on paper for fabric. Make sure to adjust your printer's settings to it prints a mirror image.
Step 3: Trim edges, mine printed with a border no matter how hard I tried to get rid of it. You'll also want to round the edges to prevent lifting later on.
Step 4: Following the directions of your transfer paper, iron onto cover in center front.

Step 5: Remove paper (after allowing it to cool, at least that's what my instructions said) and you're done!

NOTES:
I think it would have been better if I had used a larger paper for the eye pad. My original intent was to make it look like an eye pad package.
I almost made it with a face and an eye pad covering one eye. Which, if anyone is interested in, I do have the pics from when I made that.
I also plan on using a fabric protector spray since this is white. It can be washed, but I wouldn't machine dry. I'm not sure how well the shelf liner inside of it would hold up to a lot of heat.
OMGOSH! I LOOOOOOOOOOOOVE IT!!!!! BRILLIANT!!!
ReplyDeleteI would love to see how the other turned out, too!!
I'll add a pic in a while!
ReplyDeleteYAY!!!!! :D
ReplyDelete